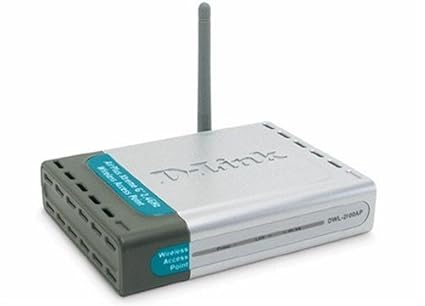
Dlink access point devices, as name suggest are
used so that you can easily access wireless wifi connections for your devices.
When you have any dlink access point device, you can add this device to your
home network simply by pressing WPS button from your access point device and
your wifi extender device. When you do not need to use WPS configurations, you
can also login http //dlinkap.local and
configure your device setup using manual method. When you choose manual method,
you will need to follow all steps from your computer screen.

Complete Steps for WPS Configurations for Dlink
Access Point
1.
You can place your
new dlink device near to any power plug and switch ON the power supply.
2.
After that you can
press WPS button from your router device.
3.
After few seconds
press WPS button from dlink access point you are using.
4.
If WPS is
successful for your devices, WPS status LED will change it’s color and blink
very fast.
5.
If WPS steps are
not successful then you can follow these steps again and again.
Once your dlink access point device and your
access point device compatible to each other, you can place your new access
point to a location where you need more high speed wifi connections.
Once your devices are connected to each other,
you can access http //dlinkap.local from
a computer device. You can then update your device very easily. Some users also
feel difficulty with WPS setup for those users we will suggest manual
configurations are best. Manual setup is also very easy for these devices but
for that you will need setup CD that you will get with each new device. Recover lost admin password for your d-link
No comments:
Post a Comment